No products in the cart.
A. The Home Studio Necessities
I remember when I was just starting and planning my 1st home recording studio. I was very fortunate though that I was able to create music in my spare room which was a dream for most people back then. Luckily, with technology advances, it is now easier to build one in your own bedroom. Yet, the question is that many people do not know when and how to start. In this blog post, I’ll go over the basic steps on how to set-up a home studio so you can start recording. Do not worry. Getting started is actually easy. All you will need are the basic essentials:
- *Strong Computer
- *Pick your own DAW and or Working Station
- *Studio Monitors
- *Microphone, Pop Filter, and Mic Stand
- *Headphone
- *Audio Cables
So here it is, these steps will allow you to build a recording studio with ease and most especially, have included additional information when you are ready to upgrade as your skills grow in time.
Let’s start with step 1:
1) You will need a strong computer
Almost everybody we know now owns a computer. If you are just starting and has a computer that is strong enough to be your personal home recording studio. Then, look no further. You have just crossed out one decision.

You will need a strong computer like a MacBook Pro - Image Source - AppleInsider.com
But if you need a heavy-duty one; then, you have lots of choices awaiting for you. To make things easier, go for something you are already familiar with. Whatever you choose, whether it is, Mac, PC, laptop or desktop as long as, you like the product that’s all that matters. Just make sure, you get as much RAM possible as recording software are extremely hard on your processing systems.
My top picks:
2) Pick your own DAW
The digital audio workstation (DAW for short) is the main software used to do all the recording, editing, and mixing of your music. Please be aware that not all DAWS will work on both platforms. Logic is for Mac while Sonar is for PC only. Dual platform DAWS include Pro Tools, Digital Performer, Live, Studio One, Reason, and Cubase, and Audition. All these programs will get the job done. However, depending on your budget and style of music, your choice of DAW will depend on you. If you are a beginner, first check out the free software and choose what suits you. Then, go for paid and full versions only when you are more confident with the features.

Image Source: Avidblogs.com
If you’re a beginner, and mixing is your focus, you could start with Pro Tools since this is the widely use recording software in the industry today.
When it comes to production, I recommend Ableton. In my opinion, Ableton is the most versatile and fun DAW on the market today.
Now, as for your workstation…
Hardware/Software Workstations
In the process of picking a DAW you may want to consider a hardware/software hybrid workstation. These workstations are a combination of midi controller, sequencer, and editing platform all in one box. These can be used instead of a traditional software DAW. They can also be used in tandem with your existing DAW by loading them as a VST. If you're anything like me, this is perfect for a tactile approach to making music.
With this in mind, you may also need a proper workstation to give you that full capabilities to make your creative ideas into reality while staying in one box. A workstation can help you simplify your workflow to enable you to create music fluidly.
There are factors you have to consider in picking that perfect workstation One must ask what is the focus of the workstation? Is this for creating your own music? Will you be mixing with it? Is this for the long haul? Do you perform live? What is your budget?
So you have figured out what you want, here are my top picks.
My Top Picks:

Image Source - Ableton
- *Ableton Push 2 – This is my favorite hardware to-date. It has an awesome built-in quality, first class pads and a beautiful colored powerful design instinctive of the touch-sensitive push instrument. Everything a sound engineer can have. It is powerful, expressive where you can make music entirely off Push with the help of an unlimited possibilities of melodies and harmonies by mangling, playing, tweaking and warping samples. All of these within reach and an easy access to Live’s devices, 3rd party plugins, sample libraries, VST’s and audio studio units.

Image Source: native-instruments.com
- *Maschine Studio – Integrated software and hardware combo-production team of unparalleled features that includes redesigned physical controls and hi-resolution visual feedbacks. Maschine studio software explodes with advance and cutting edge technology. Be inspired with an enhanced browsing, a powerful arranger, sample edits, a new mixing fixture, and additional plug-ins. You have the ability to create your own drums using the new drum synthesizers. You will get the full features of a professional sound right on the hardware to provide a perfect beat making tool for your home studio.

Image Source: akaipro.com
- *Akai MPC Touch – The Akai MPC fuses the split between the performance and production control tools which sets to bring you a more solid and integrated musical experience. The powerful features of the Music Production Centre, features include a 128-track sequencing capability and its substantial 7GB+ sound library, the choice is yours to experiment. You get to instantly mapped and make adjustments with the VST plugins which allows you to record each of your tracks as a drum beat.
3) DAW Remote/DAW Remote HD
For an easier access to the DAW, DAW Remote HD is the best choice for you. Get inspired to manage your recording by adding this app to your iPad. It controls your DAW remotely for a smoother workflow. With its customization capability, optimized layout and easy-to-use interface, you can program and build your own control surface to your liking. Compatible with 10 DAWS software programs and more.

Image Source: iTunes
4) Software Plugins
The popular Waves Gold Software Plugin is my choice as it has everything you will need for mastering and mixing your music. It includes equalizers, compressors, utility, effects, reverbs and much more. It is a comprehensive package for your music production that will help solve your audio challenges. With a user-friendly setup, you get a bundle of emulations of the Neve and Hybrid compressor, and plus, the Delay including a complete guitar virtual instrument too, Renaissance equalizer plugins and lastly, they all sound terrific!

Image Source: waves.com
5) Virtual Instruments (VST Software)
One of the biggest setbacks in achieving your dream home recording studio is the lack of musical instruments. There is a chance that you won’t have access to a wide array of sounds to help you compose even the most basic of songs. Hold your breath, with an investment of a few hundred dollars, you can get hold of a collection of virtual instruments. With this, you have the ability to create incredibly thorough emulations of many musical instruments such as vintage keyboards, analog synths, sample players, classical pianos, drum machines and so on. They act like plugins within a DAW. To start, pick one good drum and one good keyboard and synth program.

Image Source: native-instruments.com
My top picks:
6) MIDI Controller
MIDI is a must have for the virtual instrumentalists to record songs. It allows you to add your own creative touch and they come in many forms.

Image Source: akaipro.com
- *MIDI Interfaces – Its main purpose is to plug in MIDI cables into your computer. However, most audio interfaces include MIDI interface which is already built into it so you won’t need a stand-alone.
- *MIDI Controller Keyboards – They all come in a variety of sizes – from 25-88 keys. And have a wide array of features that include velocity sensitivity, after touch and modulation wheels.
- *Mini Pads – Pads have become the popular choice of DJs and producers for keying MIDI data. They come in many ranges from basic input devices to a built-in hardware sequencer. While some are even customized for some DAWs. To this day, Akai is still the leader of many MPC systems, including both hardware and app forms.
- *Electronic Drum Sets – An electronic equivalent of a basic drum, hi-hat, and cymbals. Once you have all your tracks ready, you may use drum samples and synthesizers to make the sound more exciting to your final mix.
My top picks:
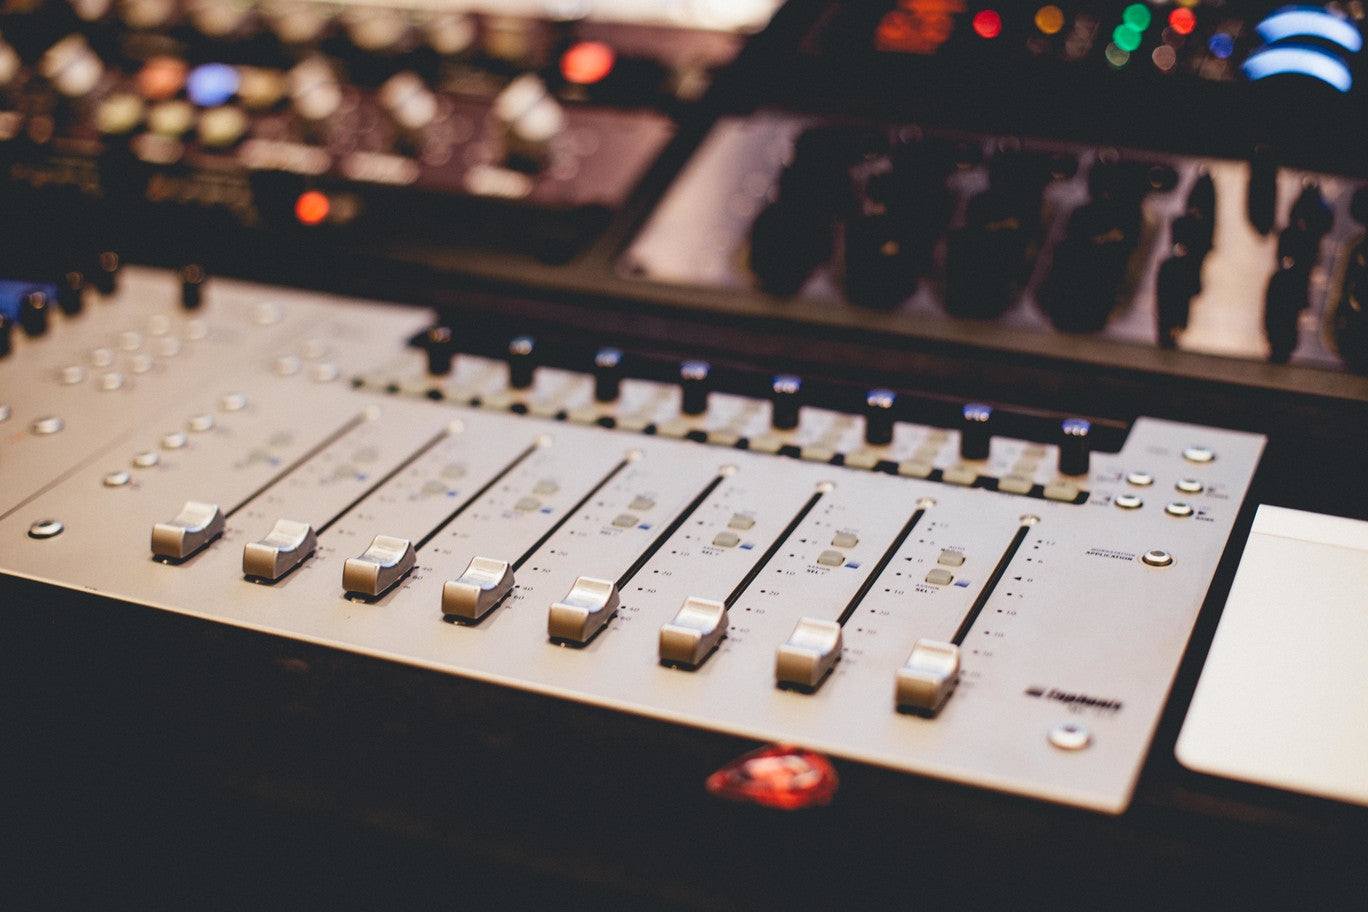
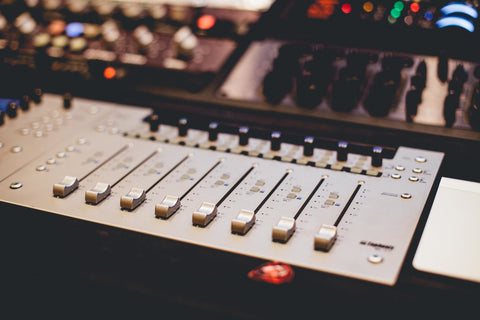
7) Control Surface
A control surface is basically a MIDI controller intended to mimic the traditional analog boards of the past. It features knobs, faders, and buttons that can assign parameters in the software. It gives the musician’s power over the sequencer while recording, and the same time providing transport controls. Most control surfaces are merged into MIDI controllers and some with motorized faders that can even read and write console automation. It connects to the host computer via many audio interfaces. Besides MIDI, USB, Ethernet, FireWire and proprietary interfaces use a control surface.

Image Source: music-group.com
My top picks:
B. Microphones
The microphone is one important component you will be needing to capture sound. If you are a beginner and not sure about what to get. Then, go get a “condenser microphone.” Later you can upgrade to a dynamic microphone. But truly, all you need is the condenser microphone. Since dynamics are meant for shows and concerts because of its efficiency in handling loud sound sources without giving out high frequencies.
1) Condenser Microphones
Condensers are mainly for recording vocals, which is known for its sensitivity and wide range of frequencies. They capture the sound more accurately that is best suited for home studios. They offer a lower feedback. Popular amongst the music makers. They can be expensive though, but there are microphones that are affordable on the pocket. Lastly, they are versatile that can handle many instruments and all kinds of sounds.

Image Source: audio-technica.com
As for connectivity, I recommend that you must go with an XLR-to-audio interface as you get a better quality of sound instead of the USB-to-computer. As for picking up patterns, a larger microphone is the best choice in my opinion. Please consider that the condensers are very sensitive and they have the tendency to overload easily. If you are recording something really loud, you will need to reconsider another type such as a power dynamic mic.
My top picks:
2) Microphone Stands
Your next upgrade will be a microphone stand. By no mistake, people consider this as a no-brainer task in setting up a home studio. In their mind, it is because this step appears basic that comes with a function is to only hold mics. Think again, you are wrong. Picking a mic stand is as important as picking the best microphone for you.

Image Source: samsontech.com
Factors you need to consider when buying a mic stand:
- *Stability
- *Weight and Construction
- *Quality and Durability
In other words, your best choice carries a higher end built-in stand. They exceedingly stable, are remarkably durable and as light as a feather.
My top picks:
3) Studio Pop Filters for Vocals
Studio pop filter for vocals is a simple microphone accessory you will be needing to invest too. Its main purpose is to block those pops as you do a recording or when you are singing to prevent from spitting all over the microphone. Thus, guaranteeing the highest quality of sound to allow you to be your best.

Image Source: auphonix.myshopify.com
My top picks:
- *Auphonix 6-inch Microphone Pop Filter
- *Dragonpad Microphone Studio Pop Filter
- *Avantone PS-1 PRO-SHIELD
C. Headphones
So you ask which one is the best headphones for your home studio, the answer is not quite that simple. For recording studios, there are three different categories with two broad design specifics.

Image Source: sennheiser.com
- *Close-Back Headphones – Its main purpose is for recording tracks. This is to prevent from monitoring, spills reaching the microphones and to prevent external noise coming from the monitor signal.
- *Open-Back Headphones – Its main purpose is for mixing, which tends to sound far better and more natural.
- *Semi-Open Headphones – It has both the open and closed features. However, this type of headset may not leak less sound. Thus, there is, the less tendency to isolate sound which can annoy people around you. My best advice is that closed or open headphones will be able to isolate sound better than semi-open ones.
My top picks:
- *Sennheiser HD 650 – open-back
- *Beyerdynamic DT 880 – semi-open
- *Samson Z55 Professional Reference Headphones – closed-back
D. A Concrete Audio Interface
You are now set with the software so the next step is to choose the right audio interface. The main purpose of an audio interface is to bring your music into the computer when you are recording and out of the computer during playback.
With many current interfaces, that incorporates many necessary tools into your devices. Such as digital conversion, microphone preamplifiers, DI unit, headphone amplifiers, and monitor management. Most DAWs also offer you a feature that works well with all brands of audio interfaces. However, with this, you are faced with limiting options.
To prevent a headache, choose two-channel USB audio interface. It must come with a microphone preamp with phantom power, and a line-in input specifically for guitar cables, keyboards, stereo, and headphones outputs too. That’s all you will need.
1) Input Multi-Channel Microphone Preamplifier
Microphone preamplifier boosts the output from any microphones. Pick 2-channel preamps to be used for stereo microphone or two normal microphones. You can use any type of microphone for the in-line or aux sockets. The operation is a simple plugin that includes a plugin for the main adaptor. Since your audio interfaces already include a few preamps. You must add a separate input channel to give way to more inputs. Otherwise, some choose one premium channel in order to record one-track-at-a-time, mainly for vocals.

Image Source: presonus.com
My top picks:
2) Digital Converters
Inside, you will find the digital converters deeply buried in the audio interface. They come with two main objectives. First, one is that they convert analog audio into digital and the second, from digital audio into analog. Stand-alone converters can typically cost thousands of dollars. People are opting out of stand-alone and are choosing to elect for budget friendly converters as for these devices are not worth the minimal difference in sound quality.

Image Source: lynxstudio.com
My top picks:
3) Headphone Amps
Now that you got all your input channels set. Your next move will be the output channels. This will help you monitor your own headphones while you are working on a project.
Because the majority of audio interfaces has only 1-2 headphone outputs, you will need a headphone amp that will take a single stereo output from your audio interface, and disperse it over to as much as 6 to 8 headphones. This amp helps power the acoustic impedance and to give a better quality of sound.

Image Source: artproaudio.com
There are three categories of headphone amps. Desktop amps (or DAC short) is the cheapest and most economical among the three. If your budget allows you to spend more; then, your best bet is the rack mounted amps and headphone distribution systems.
While the open-back designs are typically the best headphone amps for mixing and mastering. This type of amp needs more power than that of the close-back amps. Whatever type you choose, it will greatly determine the next best possible headphone amp for you.
My top picks:
4) Multiple-Output Monitor Management System
Now if you want to compare your sound mixes to different playback devices, the tool monitor management system is the perfect one for you. This will allow you to switch to multiple outputs with just a push of the button. Here you get to control your studio speaker output selections and gives you the possibility of routing your mixer cues between you and other musicians. It is undeniably a value package of essentials for your home studio.

Image Source: tcelectronic.com
My top picks:
5) Digital Master Clocks
Master clocks main purpose is to provide the timing data that allow the conversion of the analog and digital waveforms. For short, the clock classifies each sample sound to be in sync so it can record or replayed. It also can identify each encoded audio channel into multiple devices. Timing is crucial in order to help maintain audio quality as when it varies, the sample sounds will be distorted, causing problems that can eventually alter the quality of your sound.

Image Source: apogeedigital.com
My advice is when you are setting up a simple home studio, you do not need a stand-alone master clock. They are usually embedded in the audio interface as they can be expensive. However, when you are ready to upgrade. Then, go for it. Go for the stand-alone.
My top picks:
6) Analog Hardware
I included this in the list. Mainly because the majority of pro studios would rather have a big stand-alone analog hardware instead of using software plugins. As a matter of fact, your mixing quality will not change whether you choose either. Plus, it will not hurt your pocket. Bear this in mind, guys like us still can make great music with the digital version of the analog.
E. Studio Monitors
Now that you have figured out how the sound goes on the computer. You will need another way to get your music out via the stereo reference monitors. They provide a perfect straight frequency reply so that sound engineers can hear every gradation of the audio being reproduced known to be tools in creating great music and mixers. Search "*Studio Monitors"

Image Source: m-audio.com
My top picks:
F. Setting Up Your Studio
1) Acoustic Treatments
You can never ignore how important acoustic treatments in making your recordings sound better, and so that you as an artist can work faster and make your workflow easier. Before I go ahead, let me explain to you the difference between soundproofing and acoustic treatments. Soundproofing aims to block the sound from passing through the walls. While acoustic treatments are to control sound that echoes within the studio.
The first thing you will need to do is to check your room. Walk around the room and perform a simple hand clap test. Just sit in your normal position while the same time clapping your hands. You must listen carefully to sources of unwanted reflections.

Image Source: auralex.com
Then, ask yourself this:
- *Can you hear a slow decaying hard reflection of sound?
- *Or, multiple sounds of flutter echoes?
When you hear these echoes, work on the acoustic treatment that will eliminate this sounds in order to receive an optimum sound quality for your recordings. Don’t forget, you will need acoustic correction materials for added help.
You have 3 elements to consider:
- *Bass Traps – These are a must-have tool for absorbing bass frequencies.
- *Acoustic Panels – This is a supplemental tool that is thinner that offers more surface coverage which uses fewer materials. It also kills standing waves that may have existed between parallel walls.
- *Diffusers – The aim to reduce and neutralized diffusion in the rooms. However, most small home studio considers this unnecessary. But others, beg to differ.
My top picks:
2) Reflection Filters
As an alternative to acoustic treatment is reflection filters. They are commonly known as mini vocal booths. Do keep in mind that they are a less effective; however, they can serve the purpose of providing sound filtration which is better than nothing. Ideally, suited for small bedroom studios where the aim is to only record vocals.

Image Source: cadaudio.com
My top picks:
3) Studio Monitor Stands
The way you position your studio monitors will greatly affect the sound of your recordings. Now if you are feeling the upgrade, there is another option besides positioning your monitor on your desk is to use a studio monitor stand. They are usually adjustable in height, distance, and angle. And the same time, compact and are designed especially for your home recording studio that can fit anywhere that has tight requirements.

Image Source: videosecu.com
My top picks:
4) Monitor Isolation Pads
As we all know your loudspeakers are a crucial component you will be using to verify your recordings. It really does not matter how good your other gears are, only until you isolate your studio monitors from your studio environment. Then, perhaps you will hear the true sound of your amp, loudspeaker or sub-woofers whether you are in your studio or on stage.

Image Source: auralex.com
Isolation pads provide sound isolation between your studio monitor and whatever your monitor is standing on. This will instantaneously improve the accurateness of the whole monitoring system. They are reasonable in price, user-friendly and very effective in decoupling your studio monitors from your studio and what’s in it.
My top picks:
5) Studio Rack Mounts
Having a rack system will allow you to mix and match all your equipment. It also gives you the ability you to customize your routing and signal flow as you wish. To begin, you will need to know what are the 5 key items in the studio rack mounts.

Image Source: Nice-Racks.com
As you grow:
- *Multi-channel microphone preamps – Gives you the possibility to record a drum kit or a band.
- *Power conditioner – Once you have run your preamp, don’t forget to merge the power source to your rack and to 1 device.
- *Headphone amp – When you are working on several audio tracks with one or more musicians, you will need headphones amps, as per one of them to help them track their recording via headphones.
- *Audio Interface – You will need a good audio interface to be able to work on your sound demands.
- *Monitor management system – This tool will help you to experiment with mixing and matching different sources of output connectors just by pushing the button.
Your next step is figuring out what size of a rack you will need. The ideal size is 8 to give way to more devices as you grow. There are three main studio rack styles. The basic studio rack is the cheapest while the portable one is a little bit more expensive. However, it is durable and a better option for your home studio. The premium ones do offer temperature control and noise isolation features.
My top picks:
G. Accessories and Cables
1) Studio Audio Cables
I will make this simple for you. All you need is to know the difference between analog and digital cable with XLR and TRS/TS cables. That’s it!

Image Source: pexels.com
-
*Analog – This cable transmits information by streaming electricity.
- *XLR (1 cable) – It is balanced and to send sound from your microphone level to the audio interface. This connects to various inputs.
- *TRS and TS (2 cables) – TRS are balanced and it is studio capable. While TS is unbalanced and is mono to send sound from the audio interface to your studio monitors. This connects to both input and output levels. To make the sound balanced, you can use a DI box.
- *Digital Cables – Di’s transmits information via a long string of 1’s and 0’s binary code. And most of the time, you will be using the audio interface cables of USB or Firewire. And then, maybe a MIDI.
And this is really all you need to put in your mind about studio audio cables.
My top picks:
2) Direct Boxes (DI Box)
There are several questions to consider in buying yourself a direct box.
- *Do you need a DI unit?
- *What kind will you be getting?
- *And, how much are you willing to spend?
The answer depends on your needs. Direct boxes allow you to run cables that are hundreds of feet without loosing the signal quality of your sound and to prevent from noise disturbance.

Image Source: radialeng.com
To answer the second question is that you could buy a Radial J48 and be pretty much set. A simple rule is that if your source is active, use a passive DI unit. And if, your source is passive, use an active DI unit.
Now, to answer the 3rd question. One must follow the 5:1 rule. For example, if you are investing in an instrument worth $1000. Then, I suggest your DI box should cost $200.00.
3) Power Conditioner
You might not think a power conditioner is low on the hierarchy scale. Well, think again. Whether it is for your home recording studio or for a live recording, do consider buying yourself one as soon as you can.

Now, why do you need a power conditioner?
Power conditioning is to cover voltage regulations. They provide surge and spike protection. They filter and reduce the noise of the AC power supply that runs through all over your equipment. It is a rack unit and a power distribution that handles multiple outlets. Helps me with cable clutter between my audio and power cables. Once in a while, I will do a mobile recording which protects my gears. They are inexpensive, gives me extra space for additional outlets just in case I feel like upgrading and most important, it is cool no matter what you use it for.
My top picks:
4) Uninterruptible Power Supply (UPS)
Uninterruptible Power Supply (UPS for short) is a device that includes a backup battery that affords you several minutes of power in case of any blackouts. Normally, they are used to help computers protect data by allowing enough time for proper shutdown. When your computer shuts down unexpectedly, this will create a wear and tear on your hardware which can eventually damage your data. Worst, in just a moment’s time, you can lose all your hard work. So this is why it is important to have an uninterruptible power supply handy.

Image Source: apc.com
There are three categories of UPS to pick from:
- *The Standby – While on power, battery seats on stand-by. But when it detects blackouts, the UPS will switch to battery.
- *Online – The most expensive UPS that supplies non-stop backup power during blackouts.
- *Line-Interactive – Handles power fluctuations as well as online UPS that uses a special kind of transformer which gives out a variation of the output voltage in the response of when the power dips.
My top picks:
5) Studio Snake Cables (Multi-Core Cable)
Now you’ve got all your gears setup and only to see behind the back of your rack covered with tangled cables. The solution to this is snake cables. They combine individual cables into one big one which keeps them organized and cleans the look of your home studio. The only setback for multi-core cables that they are set up for bigger rigs than a regular home studio. For a beginner, it can be a difficult one to pick the right snake cable that suits their needs.

Image Source: mogamicable.com
There are three types of cables to consider.
- *Breakout cables – Consolidates the multiple ins and outs from your microphone preamps. Then, it can lead either to your studio room floor and to a different gadget into your rack.
- *Junction Box – This snake’s main purpose is to relocate the inputs of your preamp while a junction box is a type of connection you’ll find on the opposite end.
- *Dsub Connectors – In replacement of XLR/TRS connectors, it allows you to connect far more ins and outs to a single device.
My Top Picks:
Alternatives to consider:
- *ADAT cables
- *Ethernet (Cat5e) cables
Now that you have your studio set up try testing it out with some quality sounds.

{"one"=>"{{ count }} comment", "other"=>"{{ count }} comments"}
Leave a comment
About Us
- info@soundoracle.net
great instruments preview, a good starting point for a lay man on recording is concerned
can you help me with any good company that supply these equipment for reasonable amount
hello
very good job , very helpfull ,
also , can you please draw a flow of all instrument with connections ? ( midi, usb , …)
thanks a lot