Setting Default Presets: Ableton Tips

SETTING DEFAULT PRESETS: ABLETON TIPS
These quick production tips will definitely save you time in the studio and improve your workflow.
Making templates & preset chains can save time & just make your overall workflow so much easier.
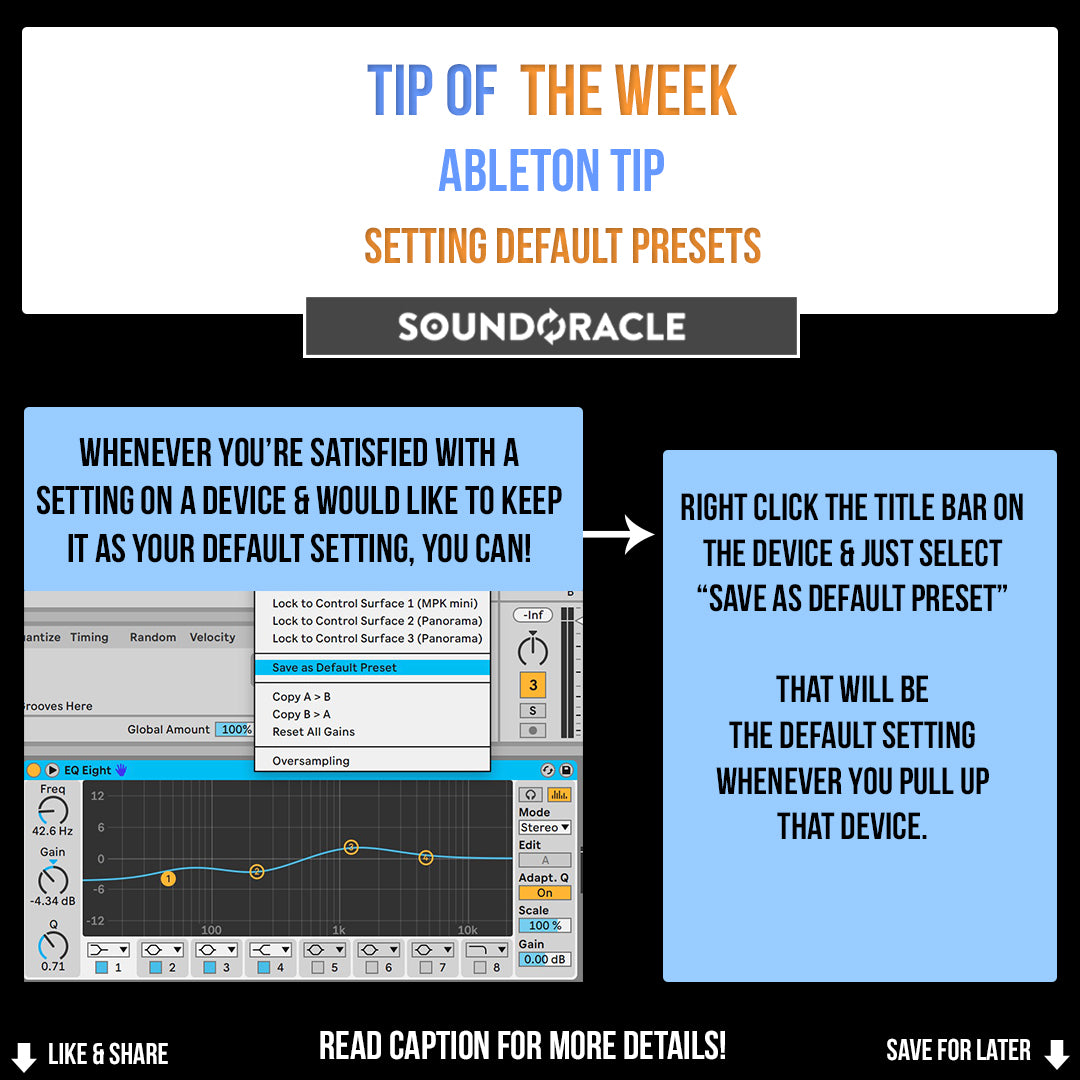
In Ableton, you can save a setting on any plugin to pull up as your default every time you load it up!
All you have to do is right-click the title bar of the plugin & select "save as default preset."
Some examples of things you may want to pull up as a default:
♦ A slight high pass filter on your EQ
♦ EQ set to M/S.
♦ For a glue compressor that you use on sums & master channels, setting a slow attack, medium release, & low ratio.
♦Maschine or drum sampler plugin set with the channel/pad outputs lowered to avoid clipping & give your session headroom.
The possibilities are endless & choose the presets that you will use most often.
WHENEVER YOU'RE SATISFIED WITH A SETTING ON A DEVICE & WOULD LIKE TO KEEP IT AS YOUR DEFAULT SETTING, YOU CAN!
RIGHT-CLICK THE TITLE BAR ON THE DEVICE & JUST SELECT ″SAVE AS DEFAULT PRESET.″
THAT WILL BE THE DEFAULT SETTING WHENEVER YOU PULL UP THE DEVICE.
More Tips and Resources...
Tutorials: Tips and Tutorials
Sample Packs:
http://soundoracle.net/
Podcast:
http://bit.ly/YouTube-UnQuantizedPodcast
Check out my gear on Kit:
https://kit.com/Sound_Oracle
Follow Me Online...
Instagram:
https://www.instagram.com/soundoracle/
YouTube:
Youtube/SoundOracle
Facebook:
https://www.facebook.com/Soundoracle/
Twitter:
https://twitter.com/SoundOracle

"All Day" Producer T-Shirt

UnQuantized T-Shirt

BE DIFFERENT. BE DOPE. - Black T-Shirt (Available in Black or Red)


